Introduction
In today’s fast-moving business environment, efficient file management within CRM systems is critical to maintaining productivity and delivering a seamless user experience. Microsoft Dynamics 365 offers a modern solution through Attachment Control, enabling users to upload and manage documents directly within record forms—more cleanly and intuitively than ever before.
In this blog, we’ll walk you through everything you need to know about setting up and using Attachment Control in Dynamics 365. Whether you’re managing proposals, contracts, technical specs, or HR documents, this guide will show you how to simplify file handling, reduce clutter, and enhance user adoption with a structured, modern approach. Let’s get started!
Managing customer interactions efficiently requires quick access to all related information—documents, screenshots, and other supporting files. One effective way to streamline this process in Dynamics 365 is by utilizing the Attachment Control component on entity forms.
The Attachment Control is a modern and intuitive UI element that enables customer service representatives (CSRs) to upload and view file attachments directly within the Case form in Dynamics 365 Customer Service. It enhances productivity by reducing the need to navigate away from the record to manage files.
Although originally intended for the Case entity, this control can also be configured on other entities like Account, Contact, Lead, and more. This flexibility allows users to access and manage files associated with emails or notes, providing a centralized and comprehensive view of customer interactions and their related documentation.
Adding the Attachment Control to a Form
To enhance user interaction and file accessibility on your forms, you can add the Attachment Control by following these steps:
Step-by-Step Instructions
- Navigate to Power Apps and locate the entity (table) for which you want to add the control (e.g., Case, Account, Contact).
- Select the form where you want the Attachment Control to appear.
- Locate the Attachment Control
- Click “More components” in the left-hand pane to expand the list of available controls.
- If the Attachment Control is not listed, click “Get more components” to load available controls.
- After it appears, simply drag the Attachment Control to the section of the form where you want it displayed.
- Configure the control’s properties as needed, such as enabling it to display attachments from emails or notes.
- After configuration, click Save and then Publish to apply your changes and make the control live for users.
To enable this functionality, turn on the “Full Case Form” option under Enhanced Case Experience in the Copilot Service Admin Center.
You can view this sample Case record within the Customer Service workspace. Within the Attachments tab, users can view files associated with Notes through the Attachment Control. If you enable email integration, the control will also display attachments from related Emails.
The Attachment Control provides useful features:
- Search for files by name.
- Switch between Grid layout and Title view.
- Upload new attachments.
- Download existing files.
- Delete files directly from the control interface.
This unified interface enables service agents to manage all case-related documents efficiently from a single location—improving productivity and streamlining the customer support process.
The attachment displayed in the below screenshot originates from a Note linked to the Case. As shown in the screenshot below, the same attachment is visible within the Notes section of the Case record.


Viewing Attachments on Other Entity Forms
The ‘Add Attachment’ feature is available exclusively for the Case entity. On other entities like Contact, and Account, users only view attachments but cannot upload new ones.
Additionally, the system displays the control on these entities only after users create the record or open an existing one. It does not show the control during the creation of a new record.
Users can delete only the files they upload using the Attachment Control. They must delete attachments from Notes or Emails at the source, as the system displays them as view-only.


Limitations & Considerations
While the Attachment Control greatly enhances the user experience, there are a few limitations and important considerations to be aware of:
Upload Functionality Is Limited to Case Entity
- Dynamics 365 Customer Service currently supports direct file uploads through the Attachment Control only on the Case form. On other entities such as Account, Contact, or Lead, the system allows users to view existing attachments (typically those linked to Notes or Emails) but does not permit uploads.
Storage Consumption
- This control uploads files to Dataverse file storage, which adds to your environment’s storage quota. Monitor usage through the Power Platform Admin Center.
Conclusion
The Attachment Control in Dynamics 365 offers a modern, streamlined approach to managing files directly within entity forms—enhancing both usability and document accessibility. While the Case entity currently supports full upload capabilities, users can still gain valuable context and improve the overall customer interaction experience by viewing attachments across other entities like Accounts, Contacts, and Leads.
By configuring this control thoughtfully, businesses can reduce their reliance on external document repositories, keep critical files close to the data they relate to, and boost productivity for end users.
As Microsoft continues to evolve the platform, we can expect even more enhancements around file and document handling in the future. For now, leveraging the Attachment Control is a smart way to modernize your file management experience within Dynamics 365.
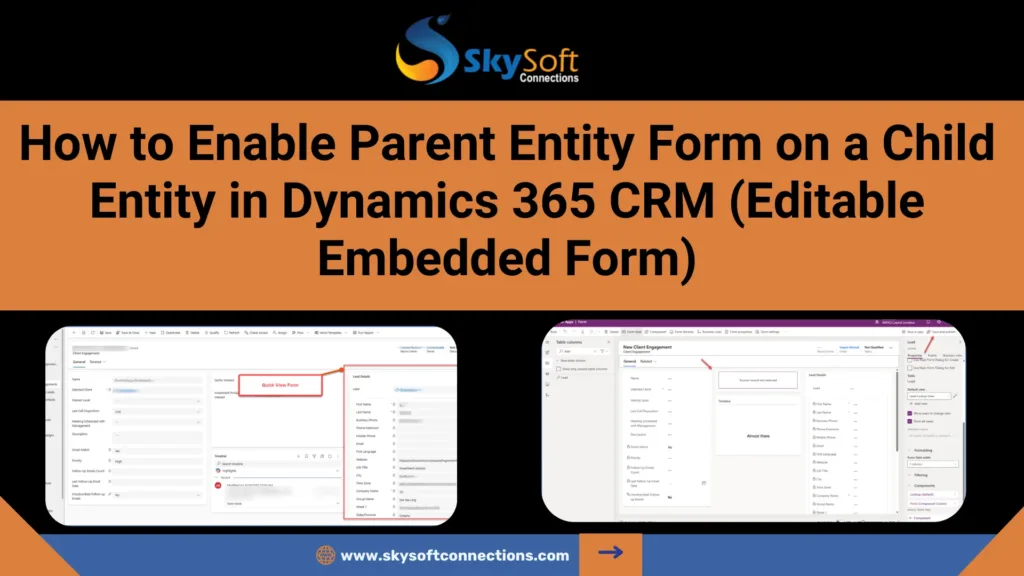
Read more : enable parent entity form on a child entity in dynamics 365 crm
FAQ’s
It’s a UI component that lets users view and manage attachments directly in entity forms like Case, Account, or Contact.
No, direct uploads are only supported on the Case entity. Other entities allow view-only access to existing attachments.
Files are stored in Microsoft Dataverse and count toward your environment’s storage quota.
![]() is a software solution company that was established in 2016. Our quality services begin with experience and end with dedication. Our directors have more than 15 years of IT experience to handle various projects successfully. Our dedicated teams are available to help our clients streamline their business processes, enhance their customer support, automate their day-to-day tasks, and provide software solutions tailored to their specific needs. We are experts in Dynamics 365 and Power Platform services, whether you need Dynamics 365 implementation, customization, integration, data migration, training, or ongoing support.
is a software solution company that was established in 2016. Our quality services begin with experience and end with dedication. Our directors have more than 15 years of IT experience to handle various projects successfully. Our dedicated teams are available to help our clients streamline their business processes, enhance their customer support, automate their day-to-day tasks, and provide software solutions tailored to their specific needs. We are experts in Dynamics 365 and Power Platform services, whether you need Dynamics 365 implementation, customization, integration, data migration, training, or ongoing support.