Table of Content
Open Dynamic Web Resources with Parameters in Dynamics 365 Using a Form Button
In Dynamics 365, enhancing forms with custom buttons is a powerful way to streamline processes and improve user experience. This blog post will guide you through adding a button to a form, attaching a JavaScript function to handle the click event, and dynamically opening a web resource by passing multiple parameters. We’ll also cover how to use those parameters to display dynamic content and execute specific actions within the web resource.
Steps to Add a Button and Implement the Functionality
1. Add a Custom Button to the Form
Use the Ribbon Workbench in Dynamics 365 to add a custom button to the desired entity form.

Configure the button’s properties, such as label, icon, and display rules.
Link the button to a JavaScript web resource for the on-click action.

2. Attach a JavaScript Function
Write a JavaScript function that will execute when the button is clicked. Use the Xrm.Navigation.navigateTo method to open the HTML web resource.

Getting the Parameters values in the custom web resource.
Adding dynamic content based on the values that came from parameters.

Output: Based on the dynamic parameters values.

3.Create the HTML Web Resource
Build an HTML web resource to render dynamic content based on the parameters passed.
Use JavaScript in the web resource to parse the query string and fetch the data. Example:
4. Perform Actions Based on Dynamic Content
- Add event listeners or buttons within the web resource to perform actions based on the displayed data.
Example: Execute an API call or update records using the Dynamics 365 Web API based on user input within the web resource.
5. Test the Integration
Benefits of This Approach
- Customizable User Experience: Tailor forms and interactions to meet specific business requirements.
- Dynamic Content Rendering: Pass relevant data from the form to the web resource for contextualized interactions.
- Streamlined Workflows: Allow users to perform actions without leaving the Dynamics 365 interface.
Conclusion
By adding a button to a form and leveraging the power of web resources and JavaScript, you can deliver a seamless and dynamic user experience. Implement this functionality to empower your team with more intuitive and efficient workflows.
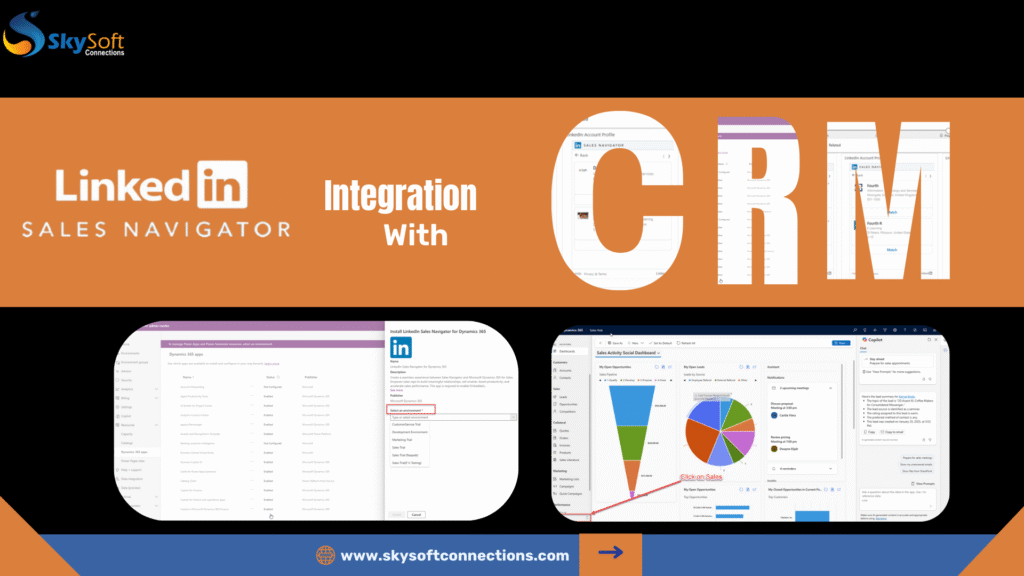
Readmore : LinkedIn Sales Navigator Integration With CRM
FAQ’s
Adding a custom button to a form in Dynamics 365 allows users to streamline processes and improve user experience by providing quick access to custom functionalities and web resources.
You can pass parameters to a web resource in Dynamics 365 using a query string in a JavaScript function. The function will execute when the custom button is clicked, opening the HTML web resource with the specified parameters.
Dynamically opening a web resource with parameters enhances user experience by displaying context-specific content, performing actions based on user inputs, and streamlining workflows within the Dynamics 365 interface.
![]() is a software solution company that was established in 2016. Our quality services begin with experience and end with dedication. Our directors have more than 15 years of IT experience to handle various projects successfully. Our dedicated teams are available to help our clients streamline their business processes, enhance their customer support, automate their day-to-day tasks, and provide software solutions tailored to their specific needs. We are experts in Dynamics 365 and Power Platform services, whether you need Dynamics 365 implementation, customization, integration, data migration, training, or ongoing support.
is a software solution company that was established in 2016. Our quality services begin with experience and end with dedication. Our directors have more than 15 years of IT experience to handle various projects successfully. Our dedicated teams are available to help our clients streamline their business processes, enhance their customer support, automate their day-to-day tasks, and provide software solutions tailored to their specific needs. We are experts in Dynamics 365 and Power Platform services, whether you need Dynamics 365 implementation, customization, integration, data migration, training, or ongoing support.