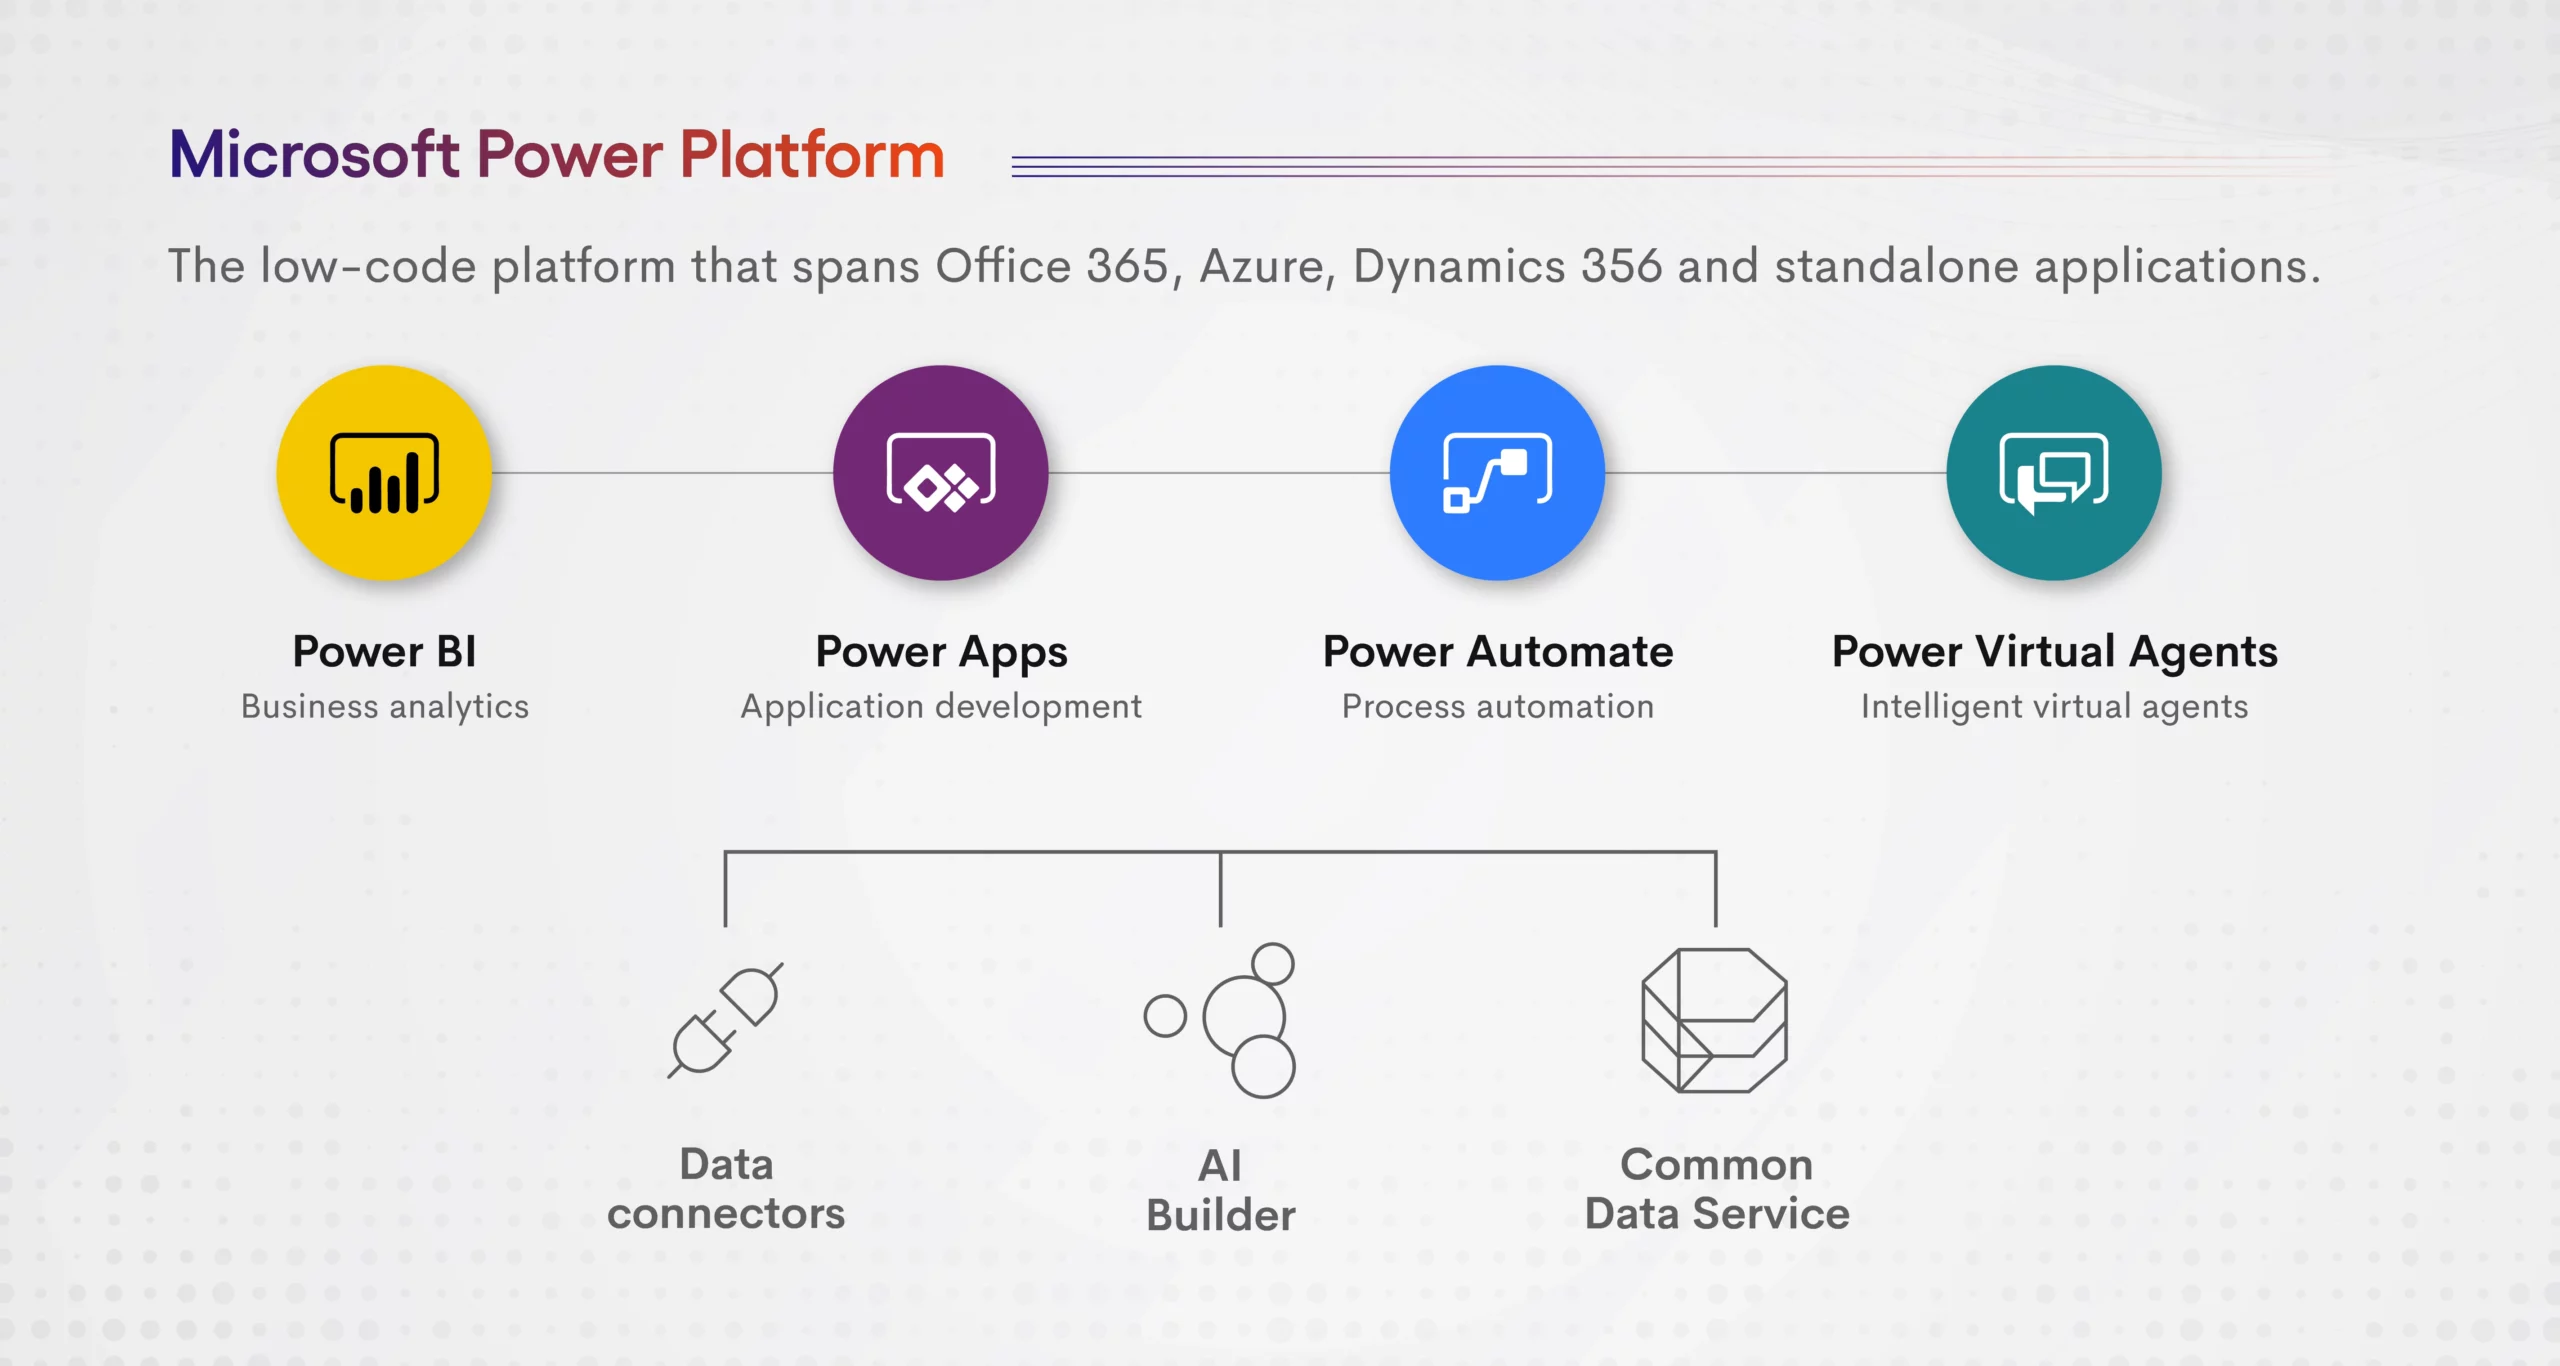
Introduction to Power automate:
Power Automate is a game-changer that streamlines workflows and enhances processes. If you’re looking to take your automation skills to the next level, these advanced features and tips will help you unlock the full potential of Power Automate. Let’s explore these features, organized into categories for easier understanding.
Introduction to Custom Connector:
A Custom Connector in Power Automate (part of the Microsoft Power Platform) allows you to extend the capabilities of your flows by connecting to any RESTful API that isn’t natively available in Power Automate. This is especially useful when you need to interact with a custom-built system, third-party service, or an internal API that isn’t pre-configured as a standard connector in Power Automate.
Key Features of Custom Connector:
- Connectivity: Custom connectors allow you to integrate with APIs, making them accessible directly within your flows, as if they were native connectors.
- Authentication: You can configure custom connectors to support different authentication methods such as OAuth 2.0, API key, or basic authentication, ensuring secure connections to external services.
- Trigger & Action Support: Custom connectors can be used to define triggers (to start a flow when certain events occur) and actions (to execute specific operations on the connected API).
- Reuse: Once created, custom connectors can be reused across different flows, teams, and environments, streamlining integration tasks.
- UI Customization: You can define the parameters for your connector in an intuitive interface, making it easier to work with even for users who aren’t familiar with the underlying API structure.
Why Create a Custom Connector for Business Central?
While Microsoft Power Automate provides an Out-of-the-Box (OOB) connector for Business Central, which allows users to integrate with Business Central data and operations, there are situations where the OOB connector might not provide the flexibility or specific functionality needed. This is where creating a Custom Connector comes into play.
Extended Functionality:
The OOB Business Central connector provides basic integration options like retrieving data from tables, creating records, and updating them. However, if you need to perform more complex operations—like interacting with custom fields, advanced filtering, or leveraging specific APIs in your Business Central instance—you may find the OOB connector limited.
Custom API Endpoints:
Business Central allows you to create custom APIs for your specific business needs. If you have custom endpoints or unique business logic exposed via an API that is not supported by the OOB connector, a custom connector allows you to integrate these endpoints into your Power Automate flows seamlessly.
More Control Over Requests:
With a custom connector, you can define and modify the structure of requests (HTTP methods, headers, query parameters, etc.), giving you more control over how you interact with the Business Central API. This allows for better flexibility and optimization, as you can fine-tune the data you send and receive.
Handling Authentication:
While the OOB connector supports standard authentication mechanisms (such as OAuth 2.0), creating a custom connector enables you to implement more complex or customized authentication processes if necessary, such as using API keys or integrating with specific identity management systems.
Custom Error Handling:
The OOB connector might not provide detailed error messages or feedback for every possible error scenario. By creating a custom connector, you can implement detailed error handling and logging mechanisms that provide better insights into failures, helping you debug and troubleshoot issues more effectively.
How to create Custom BC connector:
- Log in to Power Apps and click on “New” from the ribbon inside the solution. Go to the “Automation” option and click on the “Custom Connector” option.
2. Provide the icon you want to set for your connector. (Optional)
3. Provide your custom connector’s name and description.
4. Provide the Scheme HTTP or HTTPS, Host, and API’s base URL.
5. Set up the authentication details, whether it’s via OAuth, API keys, or another method.
6. In our case, we will use OAuth 2.0. Select Azure Active Directory as the identity provider and provide the Client ID and Client Secret of the Azure user.

7. After providing all the information and clicking on Create Connector, the Redirect URL will be generated. Copy the Redirect URL and insert it into the Azure app you created.

8. Configure the actions and triggers that will be available in Power Automate flows.
9. Move to the Definition tab, provide a summary of your action, a description of what your action will do, and ensure that the Operation Id is unique.

10. If you want to create a record, use the POST action; for updating, use the PATCH action; and to delete a record, use the DELETE action.
11. Create an action using the APIs provided by the Business Developer:
https://api.businesscentral.dynamics.com/v2.0/{Tenant Id} /{Environment Name} /ODataV4/{Table Name}

12. Before live use, test your connector to verify API calls and ensure expected responses in the Test phase.
13. Create a connection, but make sure to add the Redirect URL in the Azure app you created before setting up the connection. Otherwise, the connection will not be established.

14. Once your connector is working properly, you can integrate it into flows, automate processes, and share it with other users or teams in your organization.
15. While adding the action, you can include your custom connector’s action by navigating to the Custom tab, as shown in the image below:


Conclusion:
Custom Connectors in Power Automate provide a powerful way to integrate Business Central (BC) with various systems, extending automation capabilities beyond standard connectors. By creating a Custom BC Connector, organizations can tailor API interactions to their specific needs, ensuring seamless data exchange and efficient workflows. This approach enhances flexibility, improves operational efficiency, and enables better decision-making through automated processes. With the right implementation, Custom Connectors can significantly streamline business operations, making Power Automate a robust tool for digital transformation.
Readmore : Real-time Currency Conversion in Dynamics 365 via FXFeed
FAQs for LinkedIn Sales Navigator Integration With CRM
LinkedIn Sales Navigator syncs leads, provides real-time insights, and enables LinkedIn profile access in Dynamics 365. This integration helps sales teams streamline workflows, track interactions, and enhance prospecting efficiency.
Integrating LinkedIn Sales Navigator with CRM enables advanced prospecting, real-time updates, seamless data sync, and better engagement. It enables sales teams to manage leads efficiently, personalize outreach, and close deals faster.
To integrate LinkedIn Sales Navigator with Dynamics 365 Sales, you need either:
Microsoft Relationship Sales subscription, which includes Dynamics 365 Sales Enterprise and LinkedIn Sales Navigator Advanced Plus licenses.
LinkedIn Sales Navigator Advanced Plus license, as only the Advanced Plus plan supports full CRM integration.
![]() is a software solution company that was established in 2016. Our quality services begin with experience and end with dedication. Our directors have more than 15 years of IT experience to handle various projects successfully. Our dedicated teams are available to help our clients streamline their business processes, enhance their customer support, automate their day-to-day tasks, and provide software solutions tailored to their specific needs. We are experts in Dynamics 365 and Power Platform services, whether you need Dynamics 365 implementation, customization, integration, data migration, training, or ongoing support.
is a software solution company that was established in 2016. Our quality services begin with experience and end with dedication. Our directors have more than 15 years of IT experience to handle various projects successfully. Our dedicated teams are available to help our clients streamline their business processes, enhance their customer support, automate their day-to-day tasks, and provide software solutions tailored to their specific needs. We are experts in Dynamics 365 and Power Platform services, whether you need Dynamics 365 implementation, customization, integration, data migration, training, or ongoing support.